Nib Painting as the name itself using nibs. There are three types of Nib used for Nib painting.
1. Rounded tip to do circle designs
2. Long tip to do lines
3. Short pointed tip to draw small sharp lines.
Other Materials:
1. Design - you wish to paint
2. Felt Cloth
3. Hard board
4. Oil paint
5. Tracing Paper
6. Pencil Carbon
7. Glue
You will also get Nib painting kit which has all the materials you need.
Firstly stick the felt on the hard board using glue. Then use white carbon paper to trace the design on the felt. Apply paint on the design as required.
Make sure you always start painting from top so that your hand can be moved easily downwards. Also make sure hand should be moved evenly for the real look.
You should decide on the color scheme. Usually floral designs and scenery go well with Nib painting. Select the shades as per the design and if you mix two colors to get the double shade combination it will look really good.
You can also take the paint on the nib and press it against the surface to create the design.
If a round design is required use the nib with a round tip. Wherever you need small sharp lines you can use a short pointed-tip nib. Long tip nib is used to draw the lines.
It may take 2-3 days or more to finish off with a good design.
The design will dry off very slowly. It might take ten days or more as consistency of the paint is very thick.
The felt can get dirty but can be easily removed with thick dry brush or a tooth brush.
This painting looks really beautiful after it is completed, but need lot of patience as it is time consuming.
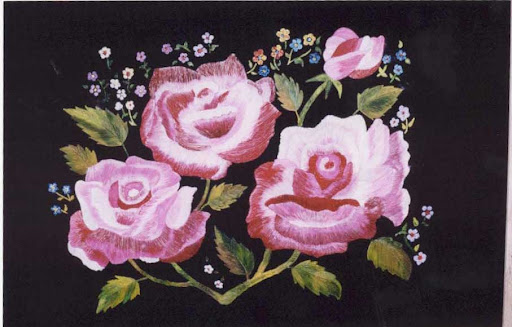
Floral designs are very common among Nib Painting.
Here is a beautiful Nib Painting.

